The following article outlines the steps to carry out in order to be able to use, develop and debug a simple IPaymentDevice-derived peripheral that can be used by the Dynamics 365 for Retail and Operations HardwareStation.
The following steps should be carried out on a development box.
Configure Hardware profile and settings
I used HW0002 profile. We need to use the PinPad device type and set some new parameters. Lets use “SAMPLEDEVICE2”. Notice that the originally shipped Microsoft code already uses “SAMPLEDEVICE”, so I deliberately choose a different string.
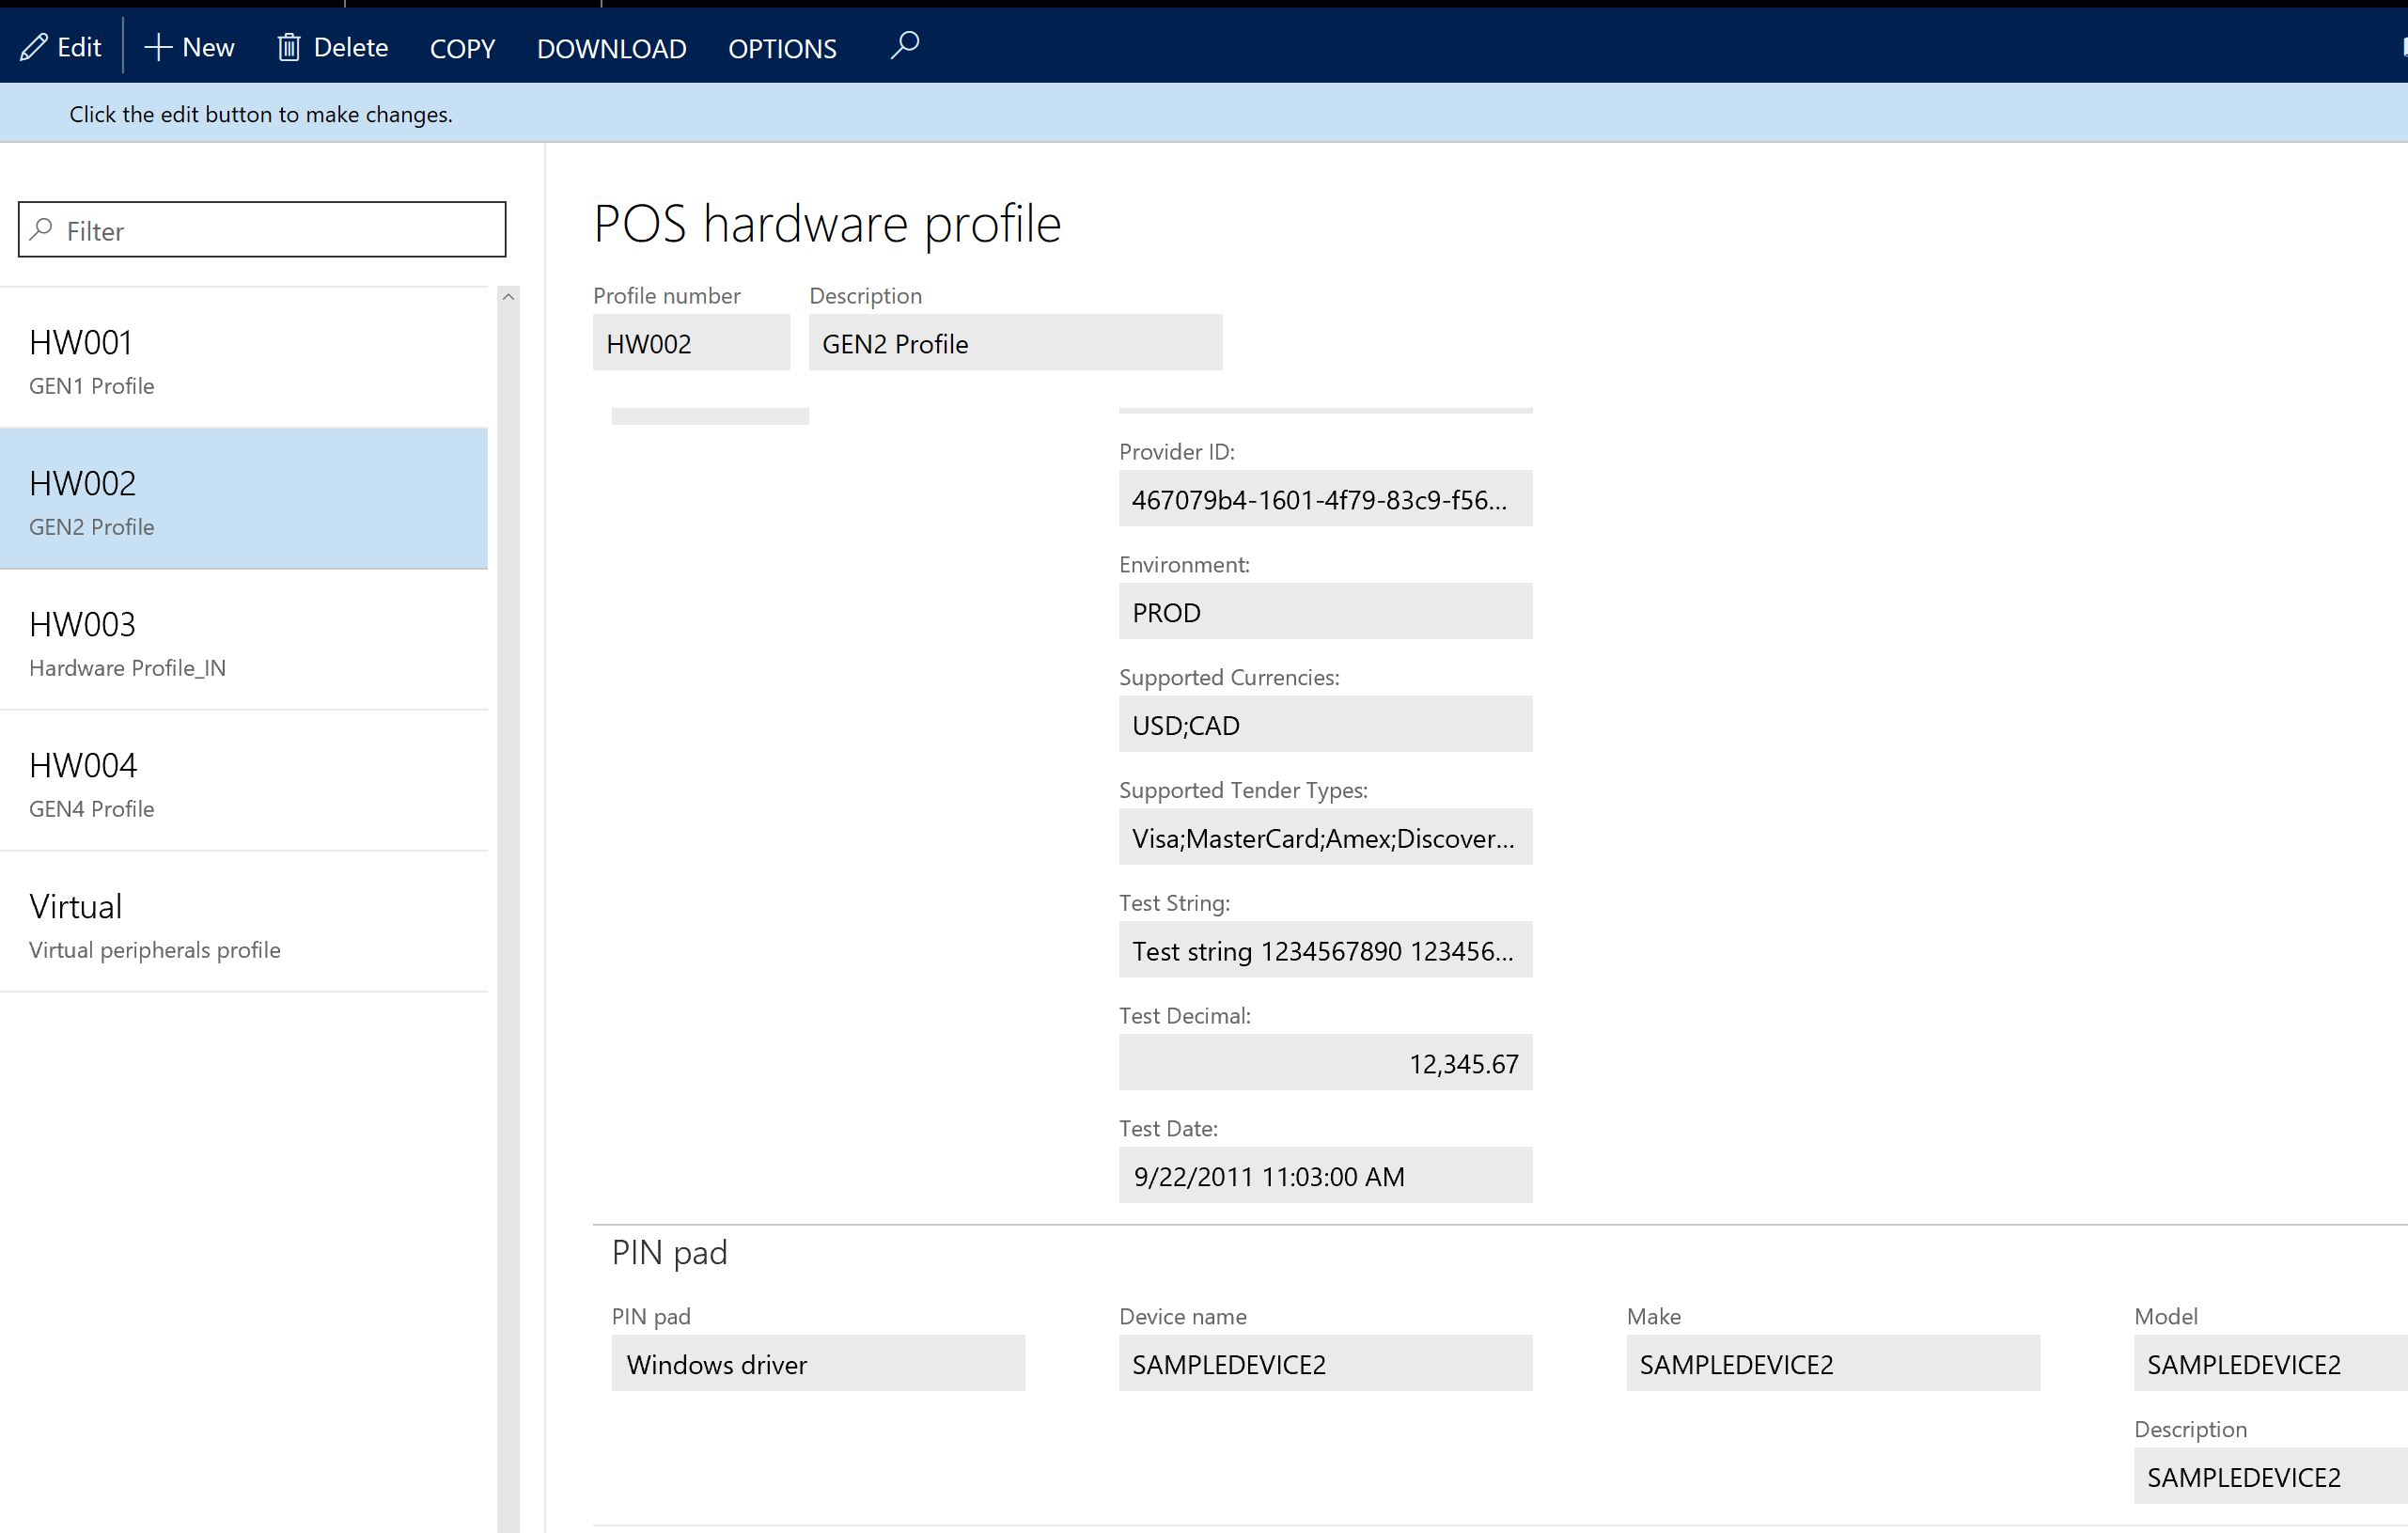
Edit as seen in the screenshot and save.
Next, pick the store you want to use for development and testing. I picked Houston. Go into the store settings and update the HardwareStation settings, make sure you match the same hardware profile from above.

Note, that I am running all components (HQ and store) on the same cloud-hosted box. There is a certificate for all sites already installed, so I decided to use the same url, in order to re-use the SSL certificate (pick it during the installation). I choose hardwarestation.cloud.dynamics.com. It could be anything, but you will have to get through some additional steps to get the SSL cert or self-signed cert to work properly.
Once these things are all setup and saved, we need to push these changes to the channel, via the 1090 (Registers) job. Run it and make sure the changes have been applied (via “Download sessions” form)
Development setup
Go back to the same screen for the Houston store, and download the hardware station installer. Once downloaded, install it on the development box. You also need to add a hosts file entry for the development box:
127.0.0.1 retailhardwarestation.cloud.dynamics.com
and a host header of
retailhardwarestation.cloud.dynamics.com
for the newly installed website.
At the end of the installation, make sure the final ping works to the newly installed station succeeds (url is https://retailhardwarestation.cloud.dynamics.com/HardwareStation/ping).
Your first payment connector
Re-use the HardwareStation.Peripherals.Desktop project from the Retail Sdk but strip out everything we do not need. At the end, only leave the SampleManagerDevice.cs, make sure to rename it to “SAMPLEDEVICE2” in the class export attribute and remove any binary references to HardwareStation.Peripherals.*. We are doing that so we won’t need to drop all these other binaries. Its unfortunate that the simple Retail Sdk sample has that many dependencies. Here we are going for the simplest way to get started, so we remove all of these references.
Compile the code.
Drop the dll and pdb into the HardwareStation’s binary folder. For me, that was at “C:\Program Files (x86)\Microsoft Dynamics 365\70\Retail Hardware Station\Package\bin”.
Last but not least, add the assembly to the HWST’s web.config file at the //hardwarestation/composition node, at the top. I added this entry:
<add source=”assembly” value=”SampleExtensionLibrary” />
(I renamed it, but any assembly name will work for you here.)
Test and step through the debugger
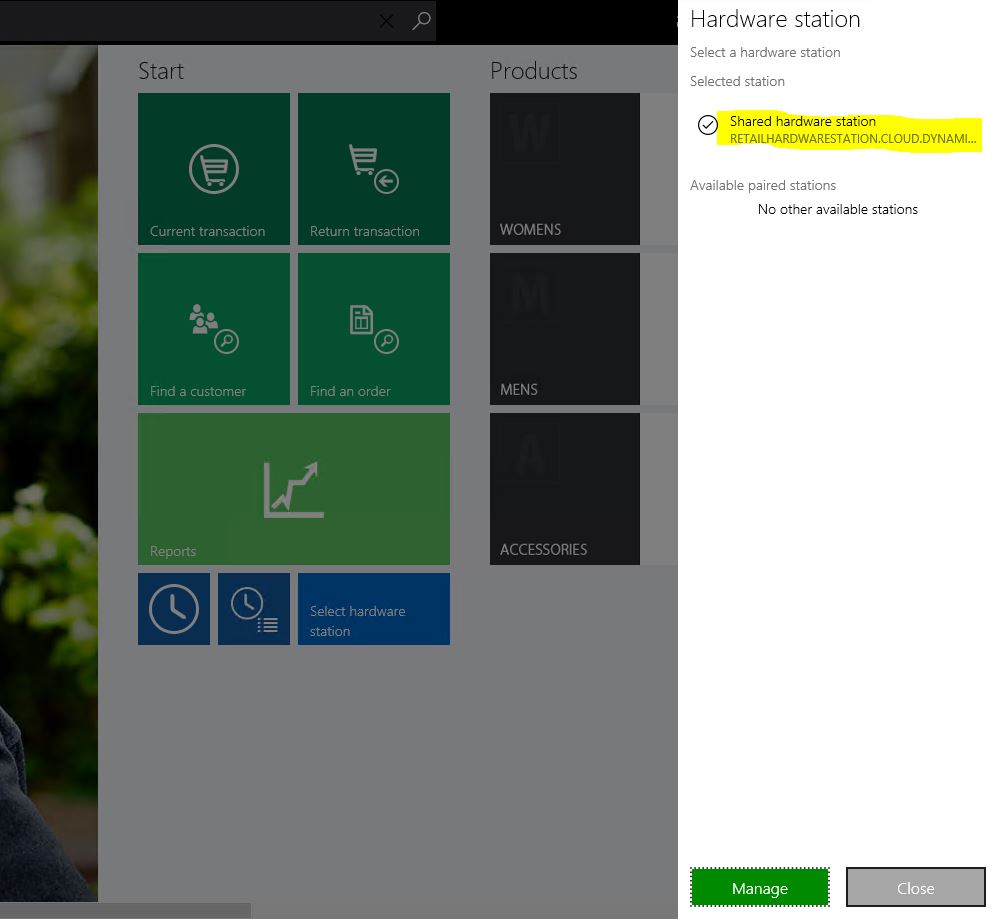
We need POS (Modern POS or Cloud POS) and pair the hardware station. The quickest way would be to use Cloud POS as no installation is needed. Once you paired the station with POS (via the “Select HardwareStation” button) you should log off once.
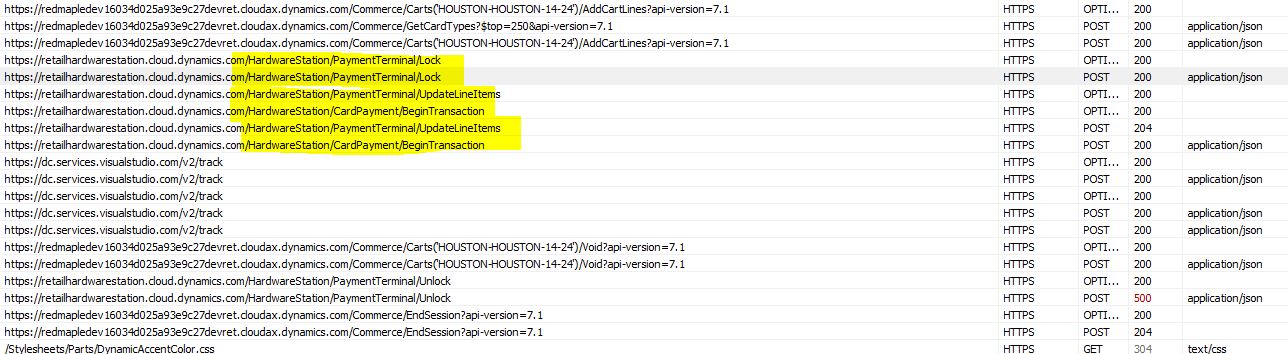
A good way to verify that the HardwareStation is being used is to use F12 Developer tools or Fiddler. Whenever an item gets added to the cart, we should see certain calls to the HWST:
At this point, we are ready to debug. Attach to the w3wp.exe project for the HardwareStation (i.e use ProcessExplorer to find out the process ID) and set breakpoints in your SAMPLEDEVICE2 payment device (i.e. OpenAsync method).
Hook all this into the Retail Sdk
In order to make sure that our officially built HardwareStation has everything we need, we need to carry out these steps on files that are under source control:
- Edit Customization.settings to include our new dll into $(ISV_HardwareStation_CustomizableFile)
- Edit RetailSDK\Packages\HardwareStation\Web.Config with the registration of the new dll
- add your new project with the IPaymentDevice implementation into the RetailSdk, so it is part of the build (with dirs.proj or a *.sln file)
- submit the changes to VSTS, do a build and deploy the Retail combined package to your D365 environment. (at that point the download from the store page should give you a HardwareStation package with the right files)
Now we are in a position to try, debug, evaluate the calls and can implement the “real” code. Happy coding.